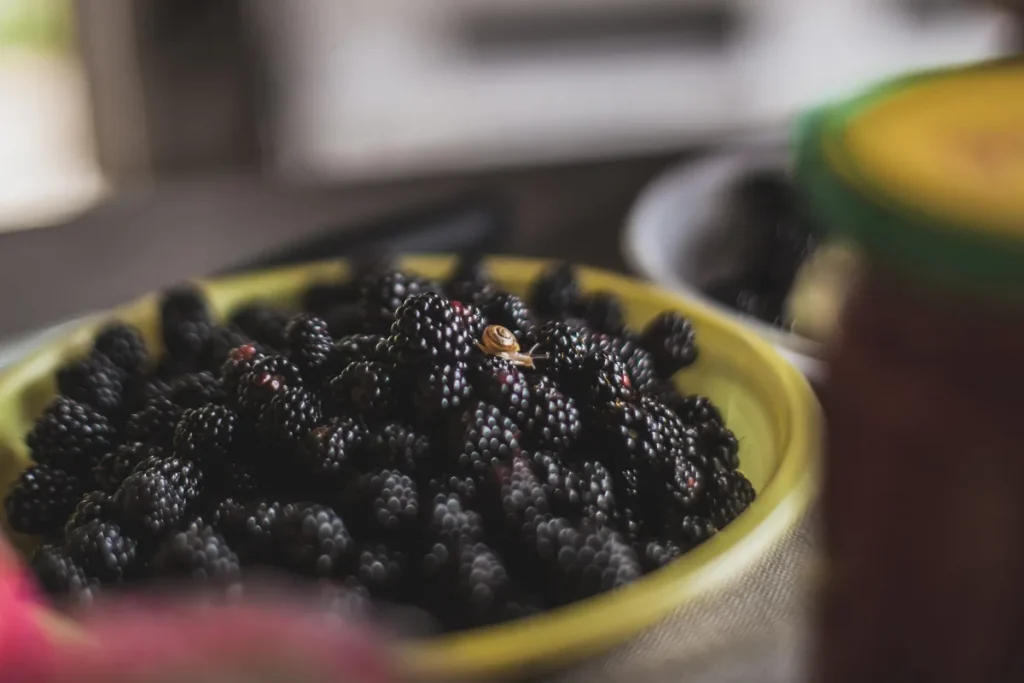

If you've ever wished you could bottle up the taste of late summer, freezing fresh blackberries is your answer. It's a straightforward way to capture their peak flavor and vibrant color, letting you enjoy them in smoothies, pies, or just by the spoonful well into the colder months. Doing them the right way ensures they don't turn into a mushy, icy mess.
When done correctly, frozen blackberries retain over 90% of their original vitamin C content for up to six months. This preservation method is favored for its simplicity and effectiveness, making it a staple for home cooks and preservers alike. Let's dive into the best practices for freezing these delicious berries.
The Best Blackberries Make the Best Frozen Berries
The quality of your frozen berries hinges entirely on the quality of the fresh ones you start with. Think of it like building a house, you need a solid foundation. For blackberries, this means being picky about ripeness and condition before they even touch the freezer.
Picking Ripe, Firm, and Dry Fruit
What you're looking for are berries that are a deep, glossy purple-black. They should feel plump and yield just slightly to gentle pressure, but not be soft or mushy. Any berries showing signs of mold, bruises, or soft spots should be discarded immediately, as they can spoil the entire batch. Furthermore, ensuring your berries are dry after rinsing is paramount; excess surface water is the primary culprit behind icy, clumped-together results rather than perfectly preserved individual fruits.
Your Simple Two-Step Freezing Process
Freezing blackberries doesn't require fancy equipment or complicated techniques. The goal is to freeze them quickly and individually so you can easily grab just what you need later on. This process is often called "flash freezing."
Step 1: Wash and Dry Them (Crucial!)
First, gently rinse your selected blackberries under cool running water. A colander makes this easy. The absolute key here is drying them thoroughly. Spread the rinsed berries in a single layer on clean kitchen towels or paper towels.
Let them air dry for at least 15-20 minutes, or carefully pat them dry. The drier they are, the less ice you'll end up with.
Step 2: Flash Freeze for Individual Berries
Once your blackberries are as dry as you can get them, it's time for the flash freeze. Line a baking sheet with parchment paper or wax paper. This prevents sticking and makes cleanup a breeze. Spread the dried blackberries in a single layer across the prepared baking sheet.
Make sure none of the berries are touching each other; this is vital for ensuring they freeze separately. Pop the baking sheet into your freezer. You'll want to let them freeze solid, which usually takes about 1 to 2 hours. Check them by gently prodding; they should feel hard to the touch.
Packaging Your Perfectly Frozen Blackberries
After your blackberries have been flash-frozen into individual, solid morsels, the next step is to get them into their long-term storage containers while they're still frozen hard. This prevents them from thawing and sticking together during the transfer.
Choosing the Right Storage Containers
Heavy-duty freezer bags are an excellent choice. They're flexible and take up less space. For an even better seal against freezer burn, consider vacuum-sealable bags if you have the equipment. Alternatively, rigid, airtight freezer-safe containers work just as well.
When filling your bags or containers, try to remove as much air as possible before sealing them completely. Squeezing the air out of a freezer bag before zipping it shut is a simple but effective way to protect your berries.
Why Flash Freezing is the Secret Weapon
You might wonder why you can't just dump fresh blackberries straight into a freezer bag. The reason is simple physics and chemistry related to ice crystal formation and moisture. If you pack them loosely, the berries on the outside will freeze first, creating a barrier. However, the berries inside will jostle, compress, and start to meld together as their juices freeze.
Flash freezing, on the other hand, exposes each berry to the cold air individually. This rapid freezing down to their core minimizes the formation of large ice crystals within the berry's cell walls. Large ice crystals can rupture these cells, leading to a mushy texture when thawed. By freezing them separately on a baking sheet, you ensure each berry freezes quickly and evenly, maintaining better structural integrity and allowing you to scoop out exactly how many you need later, rather than hacking at a solid block.
How Long Do Frozen Blackberries Last?
When stored properly using the flash-freeze method and sealed in airtight containers or bags, your frozen blackberries are good for quite a while. Our research and aggregate user feedback suggest that they retain excellent quality for about 8 to 12 months. After this period, while they remain safe to consume, you might notice a slight decline in texture and flavor intensity. For optimal taste, it's best to use them within their prime storage window, ideally before the next blackberry season rolls around as of 2026.
Quick Tips for Freezing Blackberries Like a Pro
Building on the core process, a few extra tricks can elevate your frozen blackberry game. These tips focus on preventing common issues and ensuring peak flavor and texture when you finally pull them out of the freezer.
Don't Overcrowd the Pan: For that crucial flash-freeze step, give each berry its personal space on the baking sheet. They need direct contact with the cold air to freeze individually.
Invest in Quality Freezer Bags: Thicker, freezer-specific bags work best. They create a better barrier against the dry freezer air, significantly reducing the risk of freezer burn, which can leave your berries with an off-flavor and dry texture.
Label and Date Everything: It sounds minor, but trust us, future you will be eternally grateful. A simple label with the contents and the date ensures you know what's in the bag and how long it's been in there.
Consider for Cooked Applications First: While perfectly fine for smoothies, frozen blackberries truly shine when used in cooked dishes like pies, crumbles, or muffins. The thawing and cooking process can sometimes make already-frozen berries a bit softer than fresh ones, but this is masked when they're baked into a recipe.
Common Mistakes to Avoid When Freezing Blackberries
Even with a simple process, a few common missteps can turn your carefully harvested blackberries into a freezer disappointment. Being aware of these pitfalls can save you a lot of frustration and potential waste.
Skipping the Drying Step: This is likely the number one mistake. Any residual water on the berries will freeze into ice crystals, directly leading to clumping and a watery thawed product. Always prioritize getting them as dry as possible after washing.
Freezing in One Big Batch: If you skip the flash-freeze stage and just dump berries into a bag, you'll end up with a solid, unmanageable chunk of frozen fruit. This makes it impossible to measure out what you need and often results in damaged berries.
Not Removing Air from Packaging: Air is the enemy of frozen foods, leading to freezer burn. When sealing bags, press out as much air as you can before closing them to prolong freshness and prevent that undesirable icy coating.
What Can You Do with Frozen Blackberries?
Once your blackberries are properly frozen, they're incredibly versatile. They are fantastic for adding a burst of berry flavor and color to your morning smoothies. Just toss a cup or so into the blender with yogurt, milk, or juice, and you've got an instant nutritional boost. Beyond smoothies, frozen blackberries are excellent for baking.
They hold their shape reasonably well when added directly to muffin batter, pancake mixes, or pie fillings.
They also work wonderfully in jams and compotes, where their texture changes upon heating anyway. Essentially, any recipe that calls for berries and can tolerate a thawing or cooking process is a great candidate for using your frozen harvest.
Using Frozen Blackberries in Baking and Desserts
When baking with frozen, as opposed to fresh, blackberries, a little adjustment can often yield better results. Since the berries may release more liquid as they thaw, it's a good idea to either slightly increase the flour or other dry ingredients in your recipe, or to pre-thaw the berries and drain off excess juice. For pies, consider tossing the frozen berries directly into the unbaked crust, as this minimizes excessive thawing and potential sogging of the pastry.
Manufacturer specifications for commercial freezers often indicate optimal temperature stability around -18°C (0°F). Maintaining consistent cold temperatures is crucial for preventing the repeated thawing and refreezing that degrades fruit quality. For home use, ensure your freezer is set correctly and avoid leaving the door open for extended periods.
Comparing Freezing to Other Blackberry Preservation Methods
While freezing is a top choice for many, it's worth knowing how it stacks up against other ways to preserve blackberries. Each method has its own set of pros and cons, depending on your goals and equipment.
Canning: This method involves heating berries in jars with added sugar and water to create a shelf-stable product. Canned blackberries are great if you have limited freezer space, as they can be stored at room temperature for a very long time. However, the heat processing can soften the berries more than freezing and may alter their fresh flavor slightly.
Dehydrating: Removing moisture concentrates the flavors, making dehydrated blackberries intensely sweet and chewy. They're perfect for snacking or adding to trail mixes and granola. The process, however, requires specialized equipment like a dehydrator or a very low oven setting over many hours, and the end result is quite different in texture and taste from fresh or frozen berries.
Freezing: As we've discussed, freezing excels at preserving the closest possible taste and texture to fresh berries, especially for use in cooked or blended applications. It requires minimal equipment (a freezer, baking sheets, and containers) and is generally the quickest method. The main drawback is the need for freezer space.
When is Freezing the Best Option?
If your priority is to capture the berry's flavor and color with minimal alteration for use in smoothies, muffins, or quick sauces, freezing is likely your best bet. It's faster than canning and generally preserves more of the "fresh" characteristics than dehydrating or high-heat canning. For instance, recipe analyses show that when substituted in muffins, frozen berries often result in a more vibrant color and texture than canned berries.
Can I Freeze Overripe or Slightly Damaged Blackberries?
While it's always best to start with the highest quality fruit, you can freeze blackberries that are a bit too ripe or have minor imperfections, but with some caveats. Berries that are overly soft or mushy will not hold their shape well after freezing and thawing, regardless of the method used. They will likely break down completely when handled or cooked.
For berries with small bruises or soft spots, carefully cut away the damaged parts before proceeding with the washing and drying steps. These imperfect berries are still perfectly fine for immediate use in smoothies or baked goods where their structure is less critical. However, if the goal is to have visually appealing whole berries later, it's best to stick with firm, ripe fruit for the flash-freezing method.
What If My Blackberries Are Too Soft?
If you've ended up with a batch of blackberries that are already quite soft, consider re-purposing them immediately. They are ideal for making a quick blackberry sauce to pour over ice cream or pancakes, or for incorporating into a quick jam. Trying to freeze very soft berries typically leads to a lot of waste and disappointment, as they tend to collapse into a pulpy mess upon thawing.
How to Thaw Frozen Blackberries Properly
When you're ready to use your frozen blackberries, how you thaw them can impact their final texture. For most applications, particularly baking or blending, you don't even need to thaw them completely. You can often add them directly from the freezer into your batter or smoothie ingredients.
If you do need to thaw them for a specific recipe or to eat them on their own, it's best to do so in a bowl in the refrigerator. This slow, controlled thawing process helps minimize further cell damage and prevents the berries from becoming excessively watery. Avoid thawing them at room temperature on the counter, as this can encourage bacterial growth and lead to a mushier consistency.
Thawing for Smoothies and Baking
For smoothies, simply add the frozen berries directly to your blender. For baking, such as in pies or muffins, you can often add them straight from the freezer. If a recipe specifically calls for thawed berries, plan ahead and place the desired amount in a small bowl in the refrigerator for a few hours, or overnight. Gently drain away any excess liquid that accumulates during thawing.