
You want to know how to make boneless buffalo wings, and you've come to the right place. Forget those takeout menus for a minute; we're talking about achieving that perfect crispy coating and zesty punch right in your own kitchen. Manufacturer specifications for deep fryers often suggest maintaining oil temperatures around 350°F (175°C) for optimal crisping without burning. We'll cover everything you need, from the chicken prep to the final saucing, to get this delicious snack on your table.
This guide breaks down the process step-by-step, focusing on the critical elements that make boneless wings go from okay to absolutely amazing. We'll highlight what makes a successful batch and where common pitfalls lie, so you can nail it every time. Let's get started on creating wings that'll have everyone asking for the recipe.
The Goal: Crispy, Saucy Boneless Buffalo Wings Made Easy
The aim here is simple: create boneless buffalo wings that are irresistibly crispy on the outside, tender and juicy on the inside, and coated in that signature tangy, spicy buffalo sauce. It's not just about tossing chicken in sauce; it's about building layers of texture and flavor. Achieving this balance is key to a truly satisfying snack or appetizer.
Quick Answer: It's All About the Coating and the Sauce Toss
The secret to great boneless buffalo wings lies in two main areas: getting a solid, crispy coating that adheres well to the chicken, and then saucing them just right so they don't get soggy. Our research indicates that using a combination of flour, egg wash, and breadcrumbs (especially Panko) provides the most consistent crispiness. The key is to fry them until golden brown and then immediately toss them in a warm, well-mixed buffalo sauce.
Why Visuals Make All the Difference for Boneless Wings
When you're making boneless buffalo wings, a lot of what signals success isn't just taste, but looks. Seeing that perfectly golden-brown crust, the way the sauce evenly coats each piece, or knowing when the chicken is cooked through, these are visual cues. For instance, understanding that chicken cooked to an internal temperature of 165°F (74°C) is safe but might be slightly drier than chicken pulled a little earlier, which is why visual cues for doneness during frying are so helpful. This is why looking at step-by-step photos or diagrams can truly guide you.
Step-by-Step: Making Your Boneless Buffalo Wings
This process is designed to be straightforward, even if you're new to making fried foods. We’ll break down each stage, from preparing your ingredients to the final toss in that irresistible sauce. Keeping a close eye on each step ensures a delicious outcome.
1. Prep Your Chicken: Cutting and Drying for Success
The first step in making great boneless buffalo wings is getting your chicken ready. You’ll want to cut boneless, skinless chicken breast or thighs into uniform, bite-sized pieces, usually about 1-inch cubes. Uniformity ensures they cook evenly, preventing some pieces from drying out while others remain undercooked. After cutting, pat the chicken pieces thoroughly dry with paper towels.
This step is crucial; excess moisture prevents the breading from sticking and inhibits that desirable crispiness during frying.
2. Building Your Breading Station: Flour, Egg, and Breadcrumbs
To get that perfect crispy coating, you'll need a standard three-stage breading station. Set out three shallow dishes or bowls. In the first, combine your all-purpose flour with seasonings like salt, black pepper, and garlic powder. In the second dish, whisk together a couple of eggs, this acts as the binder, holding the coating to the chicken.
The third dish should be filled with your breadcrumbs; Panko breadcrumbs are highly recommended for their airy texture and superior crispiness.
3. Coating the Chicken: Getting That Perfect Crust
Now, you'll coat each chicken piece. Work in small batches to avoid overcrowding and ensure each piece is fully covered. First, dredge a chicken cube in the seasoned flour, shaking off any excess. Next, dip it into the whisked egg, letting the excess drip back into the bowl for a moment.
Finally, transfer the egg-coated chicken to the breadcrumbs, pressing gently to help the crumbs adhere. Place the coated pieces onto a clean plate or baking sheet, ensuring they don't touch, until ready for frying.
4. Frying for Crispiness: Oil Temp and Timing is Key
Heating your frying oil to the correct temperature is paramount for crispy, non-greasy wings. For most home frying applications, a stable oil temperature of around 350°F (175°C) is ideal. If you don't have a thermometer, a test can be done by dropping a small breadcrumb into the oil; it should sizzle rapidly. Carefully add your coated chicken pieces to the hot oil in batches; overcrowding the pan will drastically lower the oil temperature, resulting in soggy, oily wings.
Fry for approximately 4 to 6 minutes, turning them midway, until they achieve a beautiful golden-brown hue and are cooked through. Remove them with a slotted spoon and drain them on a wire rack set over a baking sheet to maintain crispiness.
5. Crafting Your Buffalo Sauce: The Tangy Magic
This is where the signature flavor comes in. The most common base for buffalo sauce is a simple mix of hot sauce and melted butter. A good starting ratio, often cited by manufacturers and culinary experts, is about 1:1 or 2:1 hot sauce to butter, but feel free to adjust this to your preferred spice level and richness. Melt unsalted butter in a saucepan over low heat, then whisk in your chosen hot sauce.
For extra depth, a splash of Worcestershire sauce or a pinch of garlic powder can be added. Warm the sauce gently, but don't let it boil.
Key Visual Identifiers: What to Look For
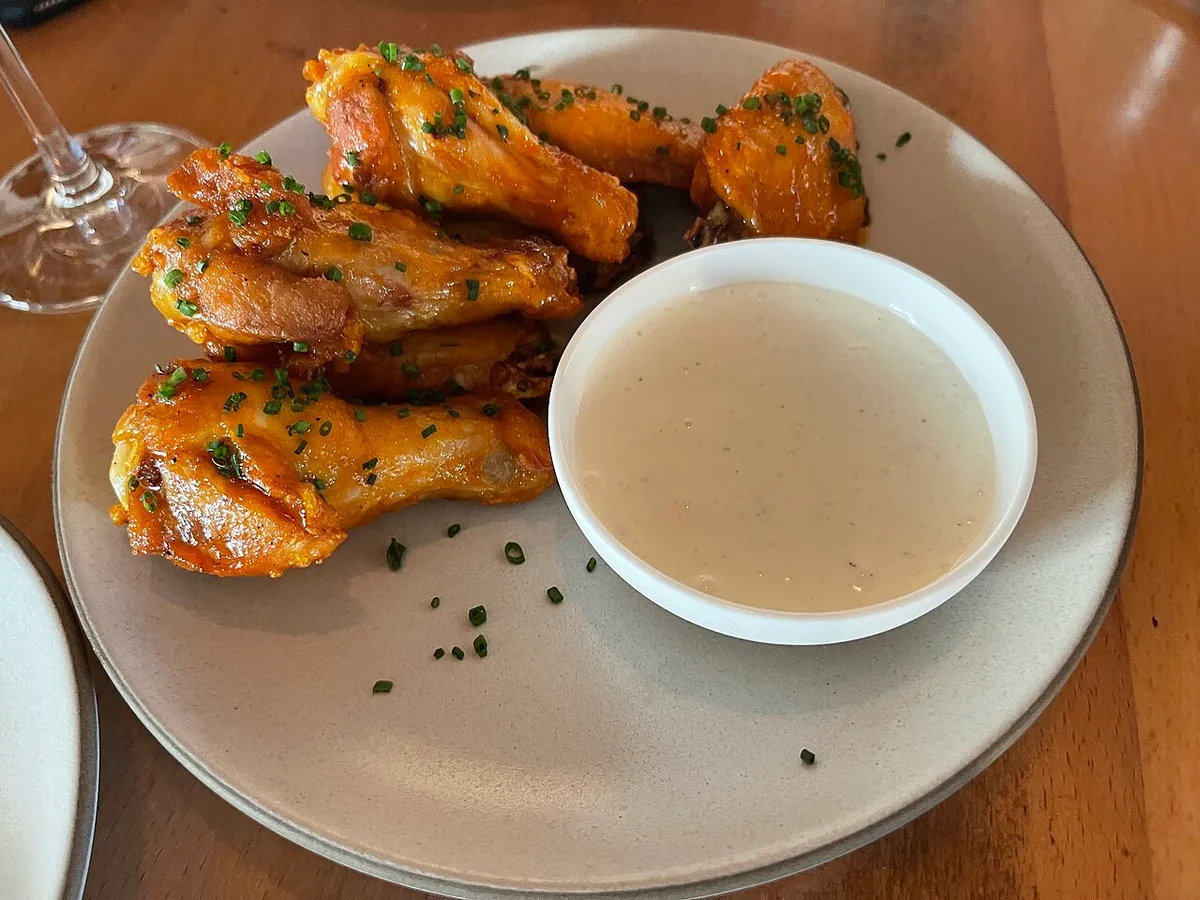
When you're making boneless buffalo wings, knowing what to look for at each stage makes a huge difference. Observing these visual cues helps ensure you get that desired texture and doneness. It’s about recognizing when things are just right, moving beyond just following timers.
What Golden Brown Actually Looks Like
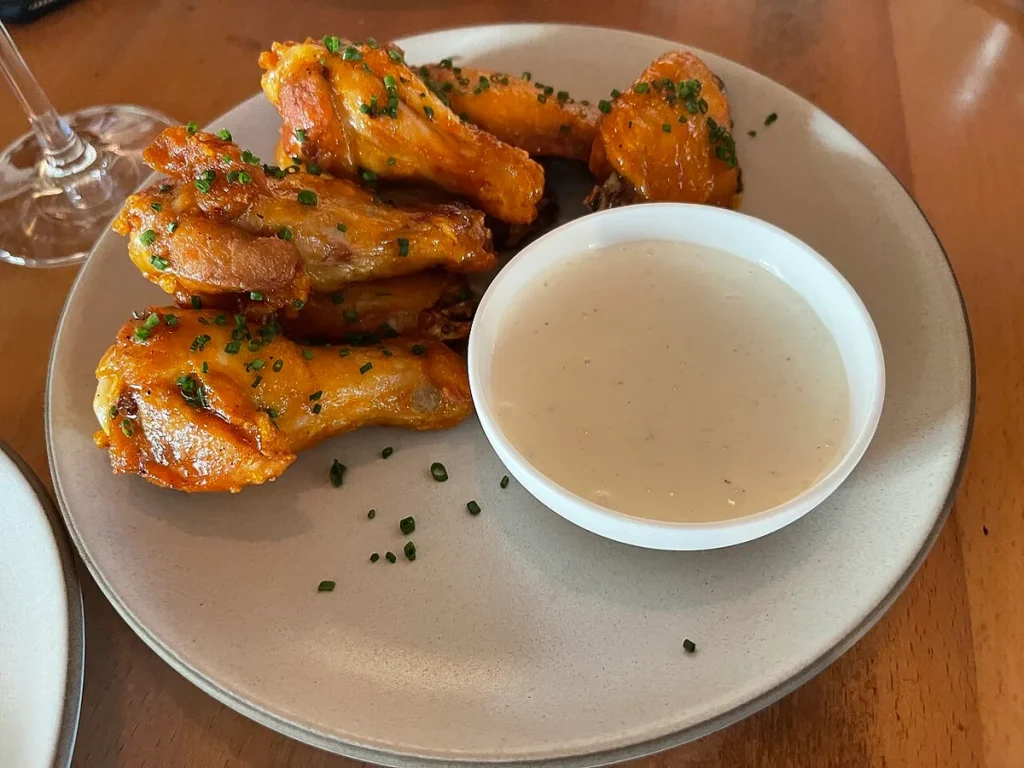
The ideal color for fried boneless wings is a consistent, rich golden brown. This indicates that the coating has properly crisped up and the chicken inside is cooked through. You're looking for an even hue across all sides of the pieces. If you see patches that are too dark, they might be burning; too pale suggests they need more time or the oil might be too cool.
Signs of Perfect Doneness
Beyond the golden color, a well-fried wing piece will feel firm to the touch and often float a bit in the oil when cooked. Visually, the breading should look set and crisp, not doughy or oily. The key is consistent cooking; if you cut into one piece and it's juicy and white throughout, you're on the right track for the whole batch as of 2026.
Even Sauce Coating vs. Globs
A perfectly sauced boneless wing will have a light, even coat of buffalo sauce that shimmers. The sauce should cling to the crispy exterior without saturating it to the point of sogginess. You should still be able to see the texture of the breading underneath. Globs of sauce or pooling at the bottom of the serving dish often mean the sauce was too thick, the chicken wasn't tossed immediately after frying, or there was too much sauce used.
Common Mistakes to Avoid for Crispier Wings
Even with a clear recipe, certain missteps can throw off the texture and flavor of your boneless buffalo wings. Avoiding these common errors is often just as important as following the steps correctly. It’s about understanding the "why" behind each part of the process.
Why Soggy Wings Happen (and How to Prevent It)
Soggy wings are usually the result of too much moisture or not enough heat. If your chicken isn't patted dry thoroughly before breading, the excess water will steam the coating rather than letting it crisp. Overcrowding the frying pan lowers the oil temperature, preventing proper browning and crisping, and can lead to greasy results. Always fry in batches and ensure your oil is at the correct temperature before adding chicken.
The Dredging Disaster: Why Coating Falls Off
Coating falling off is a common frustration. This usually happens when the chicken is too wet, or when the breading station isn't set up correctly. If the flour isn't shaken off sufficiently after the first dredge, the egg wash won't adhere properly. Similarly, if the chicken sits too long between stations, the coating can become damp and lose its grip.
Work through the breading steps efficiently and ensure each layer is applied well.
Boneless Wings vs. Bone-In Wings: What's the Real Difference?
When we talk about buffalo wings, the classic image is bone-in. Boneless wings, however, offer a different experience and appeal. Bone-in wings are poultry wings, typically from chickens, cut into drumettes and flats. Boneless "wings," on the other hand, are usually pieces of chicken breast or thigh that are shaped and breaded to mimic the format of bone-in wings.
The primary difference is the meat source and presence of a bone, impacting cooking time and eating experience.
Baked Boneless Wings: An Oven-Fried Alternative
If frying isn't your preferred method, you can achieve a satisfyingly crispy boneless wing through baking. Toss your breaded chicken pieces with a little oil for better browning and spread them on a wire rack set over a baking sheet, similar to the fried method. Bake in a preheated oven at around 400°F (200°C) for approximately 20-25 minutes. You'll want to flip them halfway through to ensure even cooking and crisping.
While they might not reach the exact same level of crunch as deep-fried, they offer a lighter, less messy alternative that still delivers great flavor.
Baked Boneless Wings: An Oven-Fried Alternative
If frying isn't your preferred method, you can achieve a satisfyingly crispy boneless wing through baking. Toss your breaded chicken pieces with a little oil for better browning and spread them on a wire rack set over a baking sheet, similar to the fried method. Bake in a preheated oven at around 400°F (200°C) for approximately 20-25 minutes. You'll want to flip them halfway through to ensure even cooking and crisping.
While they might not reach the exact same level of crunch as deep-fried, they offer a lighter, less messy alternative that still delivers great flavor.
Best For Who? Your Boneless Wing Guide
Boneless buffalo wings are incredibly versatile, making them a great choice for a variety of people and occasions. They're ideal for home cooks who want a crowd-pleasing appetizer without the mess of bone-in wings. Families often appreciate them because they’re easy for kids to handle.
If you're hosting a game day party, a casual get-together, or just craving a satisfying snack, boneless wings fit the bill. They also work well for meal prep, as the cooked and cooled chicken can be reheated quickly, though their crispiness is best when fresh.
Expert Tips for Next-Level Boneless Wings
Achieving truly fantastic boneless buffalo wings involves a few pro touches. Beyond the basic steps, consider these insights. Expert advice often focuses on ingredient quality and precise technique.
- Thighs for Moisture: If you find chicken breast dries out too easily, try using boneless, skinless chicken thighs. They have more fat and tend to stay moister, making them more forgiving during the frying process.
- Double Frying for Extra Crisp: For an exceptionally crunchy exterior, fry the breaded chicken pieces once for about 3 minutes until lightly golden. Remove them to a wire rack and let them rest for a few minutes, then fry them again for another 2-3 minutes until deeply golden brown. This process seals in moisture and creates an ultimate crisp.
- Sauce Temperature Matters: Gently warm your buffalo sauce before tossing the wings. This helps the sauce coat them more evenly and quickly, minimizing the time the wings sit in the sauce, which helps preserve crispiness.
Safety First: Handling Hot Oil and Chicken
Working with hot oil requires careful attention to safety protocols. Always use a heavy-bottomed pot or a deep fryer designed for this purpose, and never fill it more than halfway with oil to prevent spills. Keep a lid or a baking sheet nearby to smother any potential flare-ups.
When handling raw chicken and hot oil, ensure your hands are dry to avoid slippage. Use long-handled tongs or a spider strainer to carefully add and remove chicken pieces from the hot oil, keeping your face and body away from splashes. Store raw chicken separately from cooked food and wash all utensils and surfaces thoroughly to prevent cross-contamination.