
Roasting a clove of garlic transforms its pungent bite into something incredibly sweet and mellow, making it a kitchen superpower. If you've ever wondered how to unlock that creamy, spreadable goodness, knowing how to roast a clove of garlic is your first step. It’s a simple technique that adds unbelievable depth to countless dishes.
Our research confirms that following a precise oven temperature and time is key, with many manufacturers recommending a stable 400°F (204°C) for optimal caramelization. This mild heat allows the natural sugars in the garlic to break down without burning. Let's walk through the visual cues that signal perfect roasting.
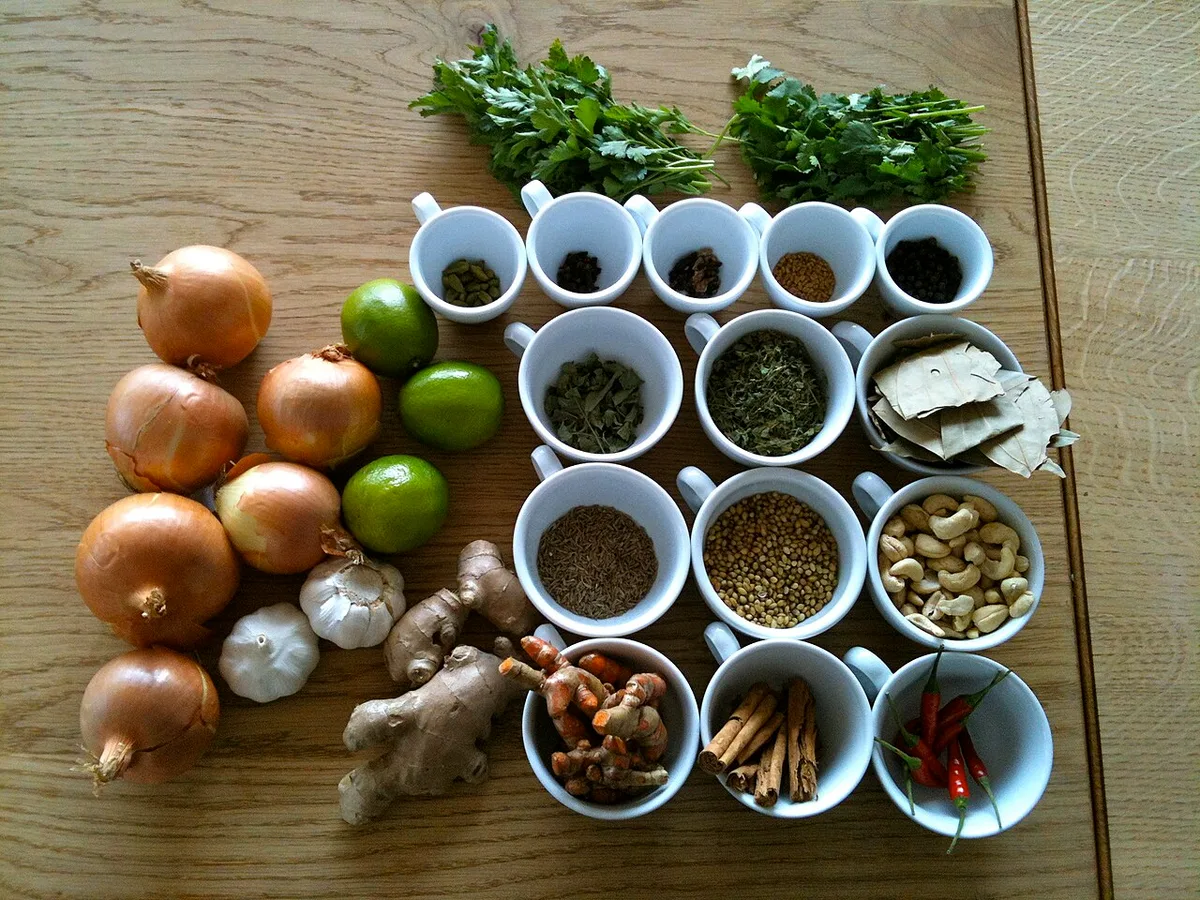
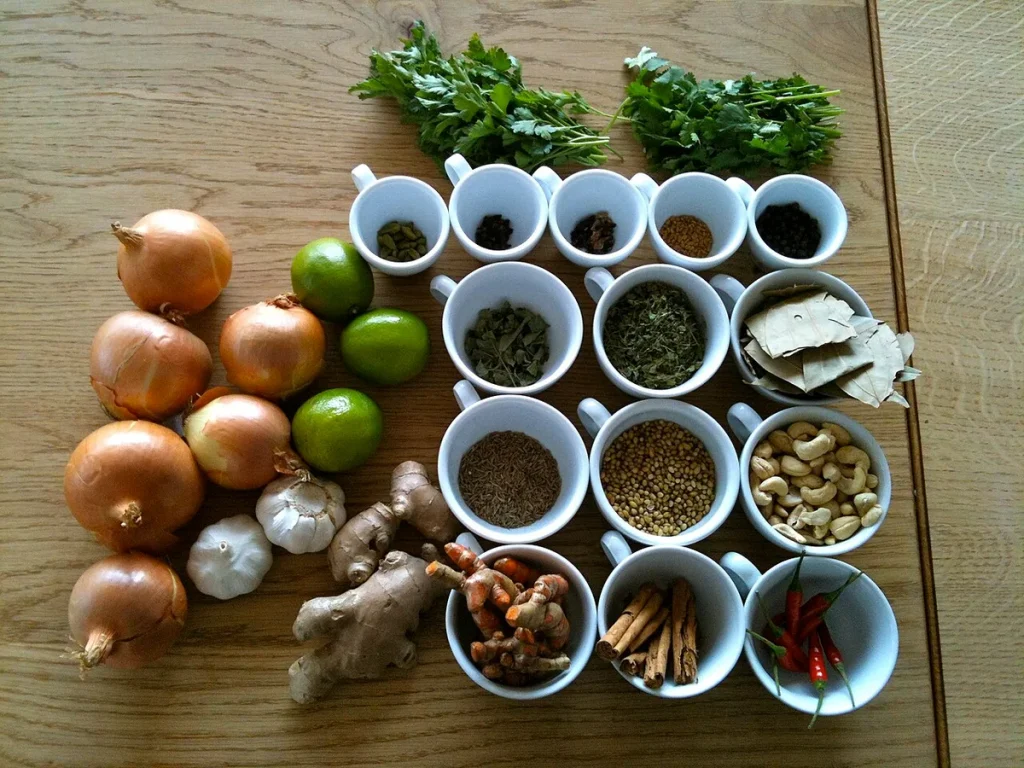
Image source: Wikimedia Commons / Zak Greant from Vancouver, Canada (CC BY)
Why Photos Make Roasting Garlic So Much Easier
There's a certain magic in seeing how things should look when you're cooking, and roasting garlic is a prime example. While written instructions are great, subtle visual cues can make all the difference between perfectly sweet, spreadable garlic and something a bit too… raw, or worse, burnt. Photos show you exactly what texture to aim for, how the peel should start to brown, and the color of the softened cloves inside.
This visual guide focuses on those tell-tale signs so you can nail it every time. It’s about training your eye to recognize perfection, ensuring your roasted garlic is consistently delicious. Understanding these visual markers helps even beginner cooks achieve expert results with minimal fuss.
Image source: Wikimedia Commons / Zak Greant from Vancouver, Canada (CC BY)
Perfectly Roasting Garlic: A Visual Step-by-Step Guide
Roasting garlic is an accessible technique, primarily involving oven time and a bit of foil. The journey from pungent raw clove to sweet, spreadable paste is marked by distinct visual changes. We'll break down each stage, highlighting what to look for at every turn.
Cutting the Garlic Top: What to Look For
The very first step is preparing the garlic bulb. You want to expose the tops of the individual cloves without cutting too deep. The goal here is to remove just enough of the papery outer layer and the very tip of the cloves to allow heat to penetrate and steam to escape.
You should aim to slice off about a quarter-inch to half-inch (0.6 cm to 1.3 cm) from the top. This reveals the tips of all the cloves uniformly. If you cut too much, the cloves can dry out too quickly. If you don't cut enough, the heat won't get in properly to soften them.

Image source: iNaturalist / Irene
Drizzling and Seasoning: Getting the Right Coat
Once the top is prepped, it's time to introduce some fat and seasoning. A good quality olive oil works wonders, helping to conduct heat and add richness. Simply drizzle enough to coat the exposed clove tops. This ensures that as the garlic roasts, it gently toasts rather than steams into dryness.
A pinch of salt and a grind of fresh black pepper are classic additions. They enhance the natural sweetness that roasting brings out. Avoid over-salting at this stage; you can always add more flavor later. The oil should mingle with the exposed garlic surface, creating a luscious base for the roasting process.
Wrapping for Roasting: Securing the Flavor
To keep the moisture in and ensure even cooking, wrapping the garlic bulb is crucial. You can do this in a couple of ways, but aluminum foil is our go-to for simplicity and effectiveness. Place the prepared garlic bulb, cut-side up, onto a piece of foil large enough to enclose it completely.
Bring the foil up around the bulb and pinch the edges together, creating a sealed packet. This traps the steam and garlic juices, which is essential for softening the cloves and developing those sweet, complex flavors. Ensure the packet is relatively airtight so no precious moisture escapes during the roasting.
The Golden Hue: Knowing When It's Ready
The visual cues for perfectly roasted garlic are primarily about color and texture. As the garlic roasts, the cloves will begin to soften and turn a beautiful golden brown. The papery skin will loosen and may even start to appear slightly shriveled. This transformation indicates that the sugars within the garlic have caramelized.
When you check the packet, the cloves should feel noticeably less firm than when raw. You're looking for a deep, rich color, somewhere between honey-gold and light amber. Over-roasting will lead to a dark brown or even black color on the edges, which can impart a bitter taste.
Image source: Wikimedia Commons / CHEFTB2 (CC BY-SA)
Tender to the Touch: Judging Doneness
Beyond just the color, the true sign of perfectly roasted garlic is its texture. After about 30-45 minutes in a 400°F (204°C) oven, the cloves should be incredibly soft and spreadable. You can test this by gently squeezing the base of a clove; it should yield easily, almost like butter.
If the cloves still offer resistance when squeezed, they likely need a bit more time. Remember that oven temperatures can vary, so always use your senses. The goal is a creamy, soft interior that slides out of its skin with minimal effort. This tenderness is what makes roasted garlic so versatile.
Common Visual Mistakes When Roasting Garlic
Sometimes, even with the best intentions, a batch of roasted garlic doesn't turn out quite right. One common pitfall is burning the garlic. This usually happens if the oven temperature is too high or if it's left in for too long. Visually, burnt garlic will have blackened, brittle edges and a bitter aroma.
Another mistake is under-roasting, leaving the garlic cloves still firm and a pale yellow, lacking that signature sweetness. This means the heat didn't penetrate enough to break down the strong, sulfurous compounds that give raw garlic its bite. The visual cue here is a bulb that's still hard to the touch after the recommended cooking time.
You might also end up with dry, hard cloves if the garlic wasn't properly wrapped. Without a good foil seal, moisture escapes, leading to a less than ideal texture. The visual indicator of this problem is often a garlic bulb that looks shriveled and the cloves are tough, not soft and yielding.
Is My Garlic Burnt?
If the edges of your roasted garlic cloves have turned dark brown or black, it's likely burnt. While a little deep color is fine, excessive charring means bitterness has set in. You might also notice a smoky, acrid smell.
How Do I Know If It's Undercooked?
Undercooked garlic will still feel firm when you squeeze the bulb. The cloves will be difficult to mash or spread and will retain a sharp, raw garlic flavor. Visually, they'll often be a pale yellow and won't have the characteristic glossy sheen.
Did My Garlic Dry Out?
Dry roasted garlic often appears shriveled, and the cloves will feel hard and crumbly rather than soft and creamy. This usually stems from insufficient wrapping, allowing steam and moisture to escape during the roasting process.
Squeezing Out the Sweetness: Getting the Roasted Goodness
Once your garlic is perfectly roasted and tender, the final step is to get that delicious paste out of its papery jacket. Because the cloves are so soft, they should practically leap out of their skins. Gently squeeze the base of the bulb, and the softened cloves should slide right out.
You can use your fingers or, for a cleaner experience, a small knife to help ease them out. The roasted garlic will have a consistency similar to thick paste or butter. This is the precious stuff you'll want to collect.
If you've roasted a whole bulb, you'll get a good amount of this creamy garlic paste. It's remarkably versatile. Just be sure to do this while the garlic is still warm, as it's easiest to extract then.
Simple Ways to Use Your Roasted Garlic
The sweet, mellow flavor of roasted garlic opens up a world of culinary possibilities. It’s fantastic spread on crusty bread or baguette slices, either on its own or as a base for bruschetta. You can mix it into mayonnaise or sour cream to create an instant garlic dip or aioli.
Adding a clove or two to mashed potatoes or pureed soups dramatically boosts their flavor profile without adding any sharpness. It also blends beautifully into salad dressings, pasta sauces, or can even be mashed into butter for a flavorful garlic butter. Consider it a natural flavor enhancer that's far milder than raw garlic.
As a Spread
One of the simplest uses is to turn the entire roasted bulb into a spread. Just serve it with a small knife, and let people squeeze out the soft cloves themselves onto crackers or toast. It's an elegant appetizer that requires minimal effort.
In Sauces and Dips
Whisking roasted garlic into creamy bases like mayonnaise, Greek yogurt, or crème fraîche creates a smooth, rich garlic flavor. It’s perfect for casual gatherings or adding a gourmet touch to weeknight meals. The mellow taste means you can use more of it without it becoming overpowering.
Enhancing Main Dishes
Toss a spoonful into your favorite pasta sauce or blend it into a pan sauce for chicken or fish. It adds a layer of sweetness and depth that raw garlic just can't replicate. Roasted garlic is also a prime ingredient in many dips, such as hummus or bean dips.
Expert Tips for Roasting Garlic Every Time
To consistently achieve perfectly roasted garlic, a few expert tips can refine your technique. Always start with fresh, firm garlic bulbs. The fresher the garlic, the better the outcome, as older bulbs can sometimes be dry and less flavorful even after roasting.
Preheat your oven thoroughly before placing the garlic inside. Manufacturer specifications often highlight the importance of a stable temperature for consistent results. Ensuring your oven reaches 400°F (204°C) and holds it steady will prevent the common issues of burning or undercooking.
Don't skip the foil wrapping; it's essential for trapping moisture and even cooking. If you want a slightly more caramelized top, you can unwrap the packet for the last 5-10 minutes of roasting. This allows direct heat to hit the cloves, enhancing their golden color.