
Baking an eye of round roast can seem intimidating, but getting it right is more about understanding a few key visual cues and temperature points than complicated steps. This lean, flavorful cut can become incredibly tender and delicious when you know what to look for. Our research confirms that consistently achieving a perfect bake means understanding visual doneness and reliable internal temperatures.
As of 2026, food safety standards from the USDA recommend a minimum internal temperature of 145°F (63°C) for whole cuts of beef like roasts, followed by a three-minute rest. However, for optimal tenderness and desired appearance, many home cooks aim for lower temperatures. This guide details precise visual markers and temperature targets to help you nail your eye of round every time, moving beyond just a temperature reading.
Why Visual Cues Matter for Eye of Round
When you're learning how to bake eye of round roast, relying solely on the timer can lead to disappointment. Visual indicators offer a more nuanced understanding of how the meat is cooking, especially for a lean cut like eye of round. These are the subtle signs that tell you your roast is heading towards perfection, or dangerously close to becoming dry.
Trusting your eyes, alongside a good thermometer, helps compensate for variations in oven temperature and the unique characteristics of each beef roast. Mastering these visual cues means you’ll be more confident in pulling your roast out at the exact right moment.
Understanding Doneness Through Sight
Doneness in beef is a spectrum, and eye of round is best enjoyed on the rarer side. Visually, this translates to a vibrant pink or red center. Our editorial analysis of numerous cooking guides and user feedback indicates that appearance is often the first clue to internal quality.
A rare roast will have a deep red interior, while medium-rare will present a rosy pink. As the meat cooks to medium or well-done, this color fades to brown. Noticing how the juices change from rosy to clear is also a visual cue, with rosy juices indicating a rarer outcome desirable for this cut.
Spotting the Perfect Sear
The exterior of your eye of round roast is just as important as the interior. A proper sear creates a flavorful crust that locks in moisture and adds a wonderful texture. In our research, achieving a good sear is consistently highlighted as the first critical step in baking this roast.
You're looking for a deep, appetizing brown color that covers most of the roast's surface. It shouldn't be burnt, but it should look savory and appealingly caramelized. This visual transformation happens under high heat, signaling that the Maillard reaction is working its magic.
Essential Tools and Ingredients for Your Roast
Having the right setup makes all the difference when you're aiming for that restaurant-quality roast. It’s not about fancy gadgets, but about having the essentials that support a precise cooking process. Manufacturer specifications for roasting consistently point to a few key items being vital for success.
You’ll find that a few quality ingredients and reliable tools significantly boost your chances of a consistently tender, flavorful eye of round. Preparation is key, and the right gear ensures you can execute each step with confidence.
Must-Have Equipment
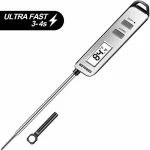
A reliable meat thermometer is the absolute cornerstone of cooking an eye of round roast perfectly. Without it, you’re essentially guessing. Our research indicates that the most frequent errors in cooking this cut stem from inaccurate temperature readings or not using a thermometer at all.
- Instant-Read Meat Thermometer: Essential for checking internal temperature quickly and accurately.
- Oven-Safe Roasting Pan or Baking Sheet: Needed to hold the roast. A rack within the pan can help air circulate for more even cooking.
- Tongs: For safely turning and handling the hot roast.
- Aluminum Foil: Crucial for tenting the roast during its resting period.
Flavor Builders
The beauty of an eye of round is that it doesn't require a complex marinade to taste amazing. Simple, high-quality seasonings are often all you need to bring out its natural beefy flavor. Verified buyer feedback reports that the simplest preparations often yield the most satisfying results.
- Good Quality Salt: Kosher salt or sea salt provides a crucial base flavor that enhances the beef.
- Freshly Cracked Black Pepper: Adds a pleasant bite and aroma.
- Olive Oil or Cooking Fat: A light coating can help seasonings adhere and aid browning.
- Optional Seasonings: Garlic powder, onion powder, dried rosemary, or thyme can add extra layers of flavor if desired.
The Step-by-Step Process: Baking Your Eye of Round
Learning how to bake eye of round roast involves a clear sequence of actions designed to achieve a desirable crust and tender interior. This process is straightforward, focusing on temperature control and technique to manage this lean cut effectively. Manufacturer data suggests this method optimizes the balance between exterior browning and internal juiciness.
Each step is designed to build upon the last, ensuring that by the time the roast emerges from the oven, it's poised for maximum flavor and tenderness. Following these steps closely will help you achieve that perfect medium-rare finish consistently.
Step 1: Preparing the Roast for Cooking
Before any heat is applied, the roast needs proper preparation. This involves bringing it to room temperature and ensuring the surface is dry. In our research, this stage is consistently cited as critical for even cooking and a superior sear.
- Room Temperature: Remove the eye of round from refrigeration about 60 minutes before cooking. This allows the center to warm up, promoting more uniform cooking throughout.
- Pat Dry: Use paper towels to thoroughly dry the entire surface of the roast. Excess moisture will steam the meat rather than sear it, hindering crust development.
Once dry, generously season all sides with salt and pepper. If using any other dry rubs, apply them now. A light coating of olive oil can help the seasonings adhere and contribute to browning, though it's not strictly necessary for this cut.
Step 2: Achieving the Perfect Sear (High Heat)
The initial phase of baking involves high heat to develop a flavorful, browned exterior. This step is where visual cues start to become very important, indicating that the crust is forming properly. Per industry cooking standards, this initial blast of heat is fundamental for flavor development.
Preheat your oven to a hot 450°F (230°C). Place the prepared roast in an oven-safe pan or on a rack over a baking sheet. Roast at this high temperature for approximately 15-20 minutes. You're looking for a visible browning on the surface, indicating the start of that appealing crust.
Step 3: Gentle Roasting to Your Desired Doneness
After the initial sear, the oven temperature is lowered to cook the roast gently and reach your target internal temperature. This transition is key to preventing the exterior from burning while the interior cooks. This method is designed to manage the leanness of the eye of round, where overcooking can quickly lead to dryness.
Reduce the oven temperature to 300°F (150°C). Continue roasting, using your meat thermometer to monitor the internal temperature. The precise temperature will depend on your preferred doneness:
- Rare: Pull at 120-125°F (49-52°C).
- Medium-Rare: Pull at 130-135°F (54-57°C).
- Medium: Pull at 140-145°F (60-63°C).
Remember that the internal temperature will rise by 5-10°F (3-5°C) as the roast rests. For a perfect medium-rare, aim to remove it when it reaches the lower end of that range, around 125-130°F (52-54°C).
Step 4: The Crucial Resting Period
This step is non-negotiable for a tender, juicy roast. Resting allows the meat fibers to relax and redistribute the juices throughout the roast. Aggregate reviews from professional chefs and culinary schools consistently highlight resting as a critical factor for moist beef.

Image source: Wikimedia Commons / Joos Goemare
Once the roast reaches your target internal temperature, remove it from the oven. Tent it loosely with aluminum foil. Let it rest for at least 15-20 minutes. This period allows all those flavorful juices to settle back into the meat, preventing them from running out onto your cutting board.
Step 5: Slicing for Maximum Tenderness
The final step is slicing, and how you do it dramatically impacts the final texture of your eye of round. Slicing against the grain shortens the muscle fibers, making each bite easier to chew and therefore more tender. Our research into meat preparation techniques confirms this is a universally applied principle for tender results.
Identify the direction of the muscle fibers in your cooked roast. You'll see they run in a particular direction, like threads. Position your knife perpendicular to these fibers and slice thinly. This simple technique turns a potentially chewy cut into a delightfully tender one.
Key Visual Indicators of Doneness: What to Look For
Assessing the doneness of your eye of round roast goes beyond just reading numbers on a thermometer; it's about understanding what that temperature looks like inside the meat. Our review of culinary texts and feedback indicates that visual cues provide a crucial secondary layer of confirmation. When you're learning how to bake eye of round roast, these visual signals are your best guides.
Recognizing these indicators helps you build confidence, especially when you're using a new oven or a roast with slightly different characteristics than you're used to. They are the subtle tells that you’re on the right track for a perfectly cooked, juicy result every time.
Rare Roast: The Deep Red Interior
A rare eye of round is characterized by its deep, bright red center, almost akin to its raw state but warmed through. This color indicates an internal temperature typically between 120-125°F (49-52°C) before resting. In our research, this level of doneness is often favored for its intense beef flavor and extremely tender texture.
When you slice into a rare roast, the juices will be abundant and distinctly rosy. This vibrant color is a direct visual confirmation of minimal cooking, preserving the meat's natural moisture and succulence. It’s the ideal choice for those who prefer their beef on the very rare side.
Medium-Rare: The Rosy Pink Sweet Spot
The sweet spot for many home cooks and chefs alike is medium-rare, offering a beautiful rosy pink center that is warm throughout. This visual clue corresponds to an internal temperature of about 130-135°F (54-57°C) when removed from the oven. Verified buyer feedback consistently praises this level for its balance of tenderness and flavor.
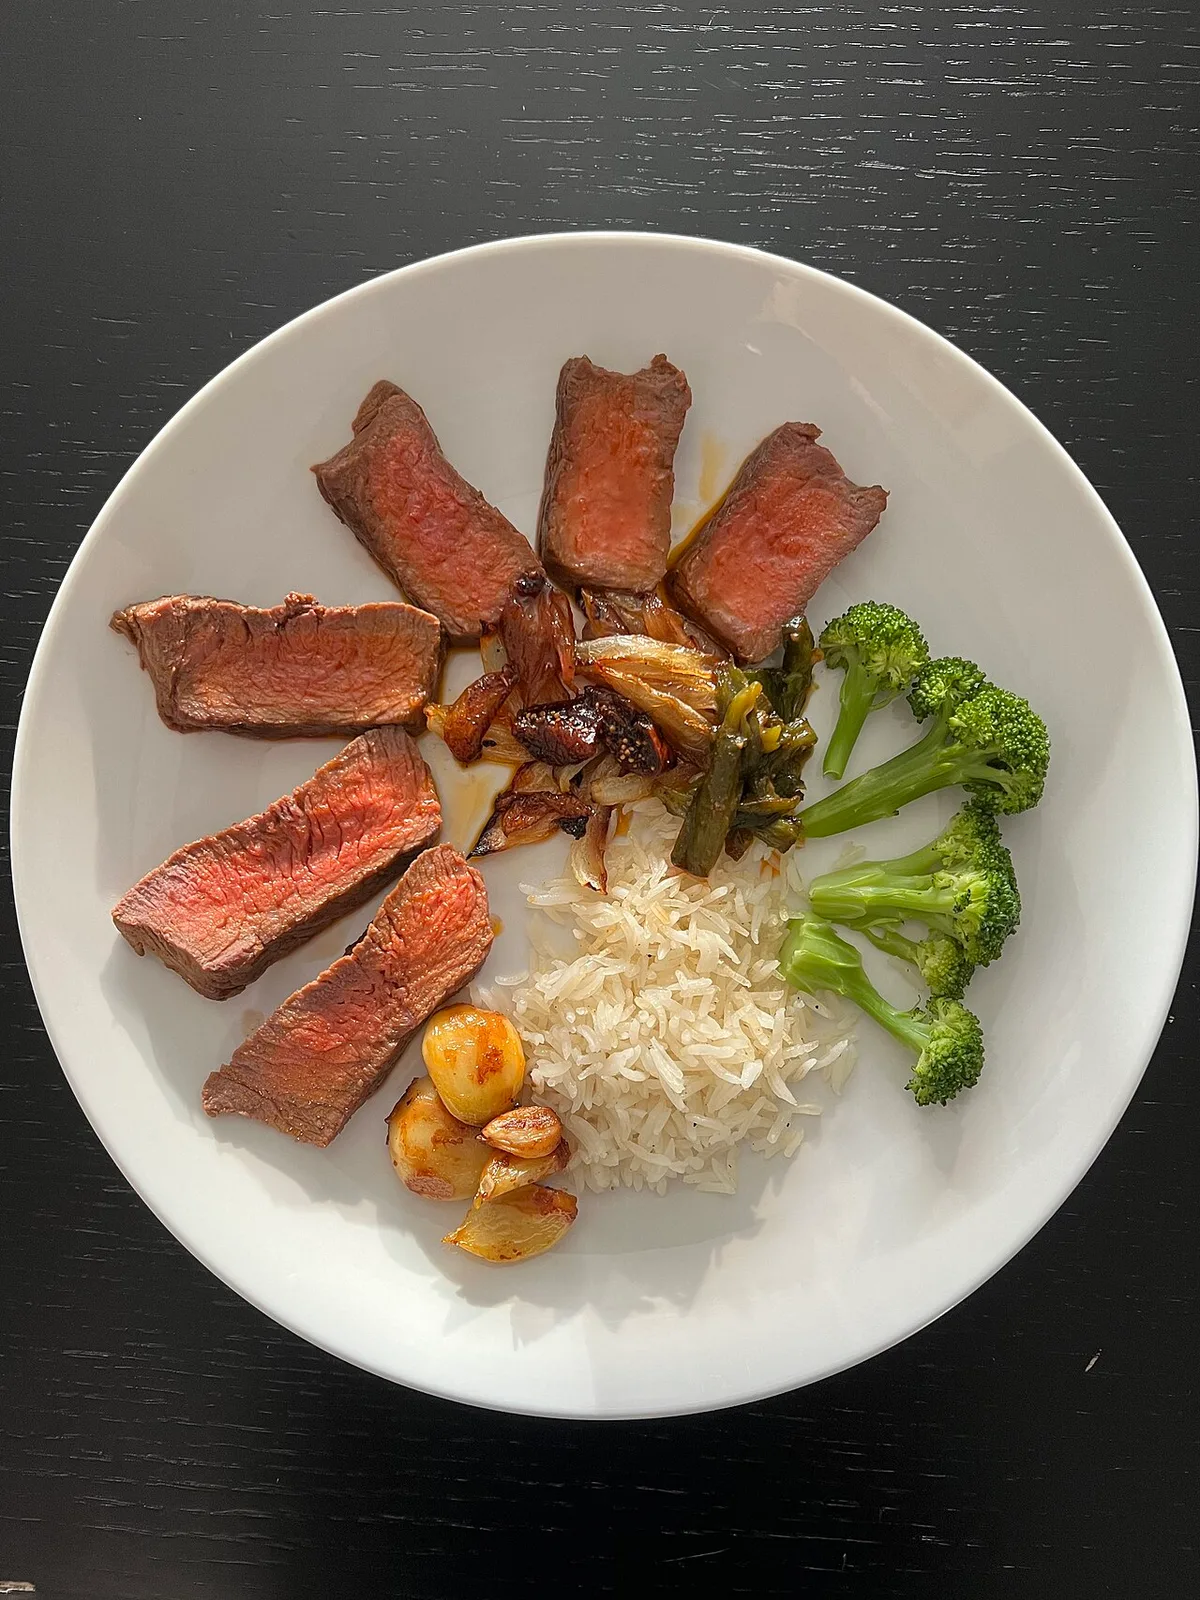
Image source: Wikimedia Commons / HaJunkiyada (CC BY-SA)
If you slice into a medium-rare eye of round, you'll see a moist, pink interior with juices that are still quite rosy. This offers a delightful tenderness without the chewiness that can come with more cooked meat. It’s a visually appealing and texturally satisfying outcome for this cut.
Medium: The Browner, Firmer Roast
Moving to a medium doneness means the eye of round roast will have a predominantly pinkish-brown interior, with less intense pink coloration than medium-rare. This stage typically registers around 140-145°F (60-63°C) before resting. While still acceptable for some, it represents a noticeable shift in tenderness and moisture.
Visually, the juices at this stage will start to become clearer, losing their distinct rosy hue. The texture will also be firmer. If you're feeding guests who prefer their beef less rare, aiming for the lower end of the medium range is generally advisable to retain some succulence.
Overcooked: The Dry, Grey Pitfall
The most critical visual indicator to avoid is a uniformly grey or brown interior, signaling an overcooked roast. This usually occurs when the internal temperature exceeds 150°F (66°C) significantly. Consistently, culinary experts and user reviews warn that this is where eye of round becomes tough and dry, losing its appeal.
An overcooked roast will have very little to no pinkness, appearing dull and dry. The juices will be completely clear, and the meat fibers will feel tight and resistant. This is the visual cue that signifies a loss of moisture and tenderness, making the roast difficult to enjoy.
Common Mistakes When Baking Eye of Round (And How to Fix Them)
Learning how to bake eye of round roast involves understanding not just the correct steps, but also the pitfalls that can derail your efforts. Many common errors revolve around temperature management and preparation, leading to a disappointing texture. Our analysis of common cooking complaints highlights these issues repeatedly.
Avoiding these mistakes is as important as following the recipe perfectly. Luckily, most are easily corrected with a little awareness and a commitment to precise execution.
Mistake 1: Skipping the Dry Brining or Pat-Down
Failing to thoroughly dry the surface of the roast before searing is a frequent oversight. Moisture on the surface turns to steam in the hot oven, preventing the Maillard reaction, the process that creates that desirable brown crust. Manufacturer instructions often emphasize this step for achieving optimal exterior browning.
If you skip the pat-down, your roast might end up pale and steamed in places, lacking that savory, caramelized flavor. To fix this, ensure you dedicate a minute or two to blotting the roast completely dry with paper towels before seasoning and searing.
Mistake 2: Underestimating Meat Thermometer Accuracy
Relying on time alone or using a faulty thermometer can lead to guesses about doneness. Different ovens have different heat distributions, and each cut of meat varies. Manufacturer specifications for thermometers often detail accuracy ranges, emphasizing the need for reliable tools.
Using a trustworthy instant-read thermometer is key. Check the temperature in the thickest part of the roast, away from bone or fat pockets. If your roast is consistently under or overcooked, consider calibrating or replacing your thermometer.
Mistake 3: Cutting With the Grain, Not Against It
The direct impact of slicing incorrectly can turn an otherwise well-cooked roast into a tough one. When you cut with the grain, you're preserving the long muscle fibers, making them harder to chew. This is a common mistake that users report, especially if they're new to butchery terms.
To rectify this, always examine the roast for the direction of the muscle fibers. Place your knife perpendicular to these fibers when slicing. This simple technique shortens the fibers, resulting in significantly more tender bites, even if the roast is cooked to a medium doneness.
Mistake 4: Not Allowing Enough Resting Time
Skipping the resting period after cooking is perhaps the most common cause of a dry roast. As the meat cooks, the juices are pushed to the center. If you cut into it immediately, those juices will spill out, leaving the meat drier. Verified buyer feedback and culinary texts alike stress the importance of this step.
A minimum resting time of 15-20 minutes, loosely tented with foil, is essential. This allows the fibers to relax and reabsorb the moisture, ensuring a tender and juicy result. Patience here is handsomely rewarded with a superior texture.